Mug printing with a heat press makes it possible to create custom designs that look clean and professional. With the right machine, coated mugs, and a few basic supplies, anyone can transfer graphics, photos, or text directly onto a mug surface. A heat press uses heat and pressure to bond the design to the mug, giving it a durable and polished finish.
This process works well for personal projects, gifts, or even small business products. By learning the proper steps, it becomes easy to avoid common mistakes like faded prints, peeling designs, or uneven transfers. The method is straightforward, and with a little practice, the results can be consistent and long-lasting.
Key Takeaways
- A heat press transfers designs onto mugs using heat and pressure
- The right equipment and materials make the process smooth
- Following clear steps helps achieve sharp, lasting results
Essential Equipment and Materials for Mug Heat Pressing
Successful mug printing depends on having the right machine, using drinkware that can handle heat, and preparing the proper supplies to transfer designs cleanly. Each part of the process plays a role in producing results that look sharp and last through regular use.
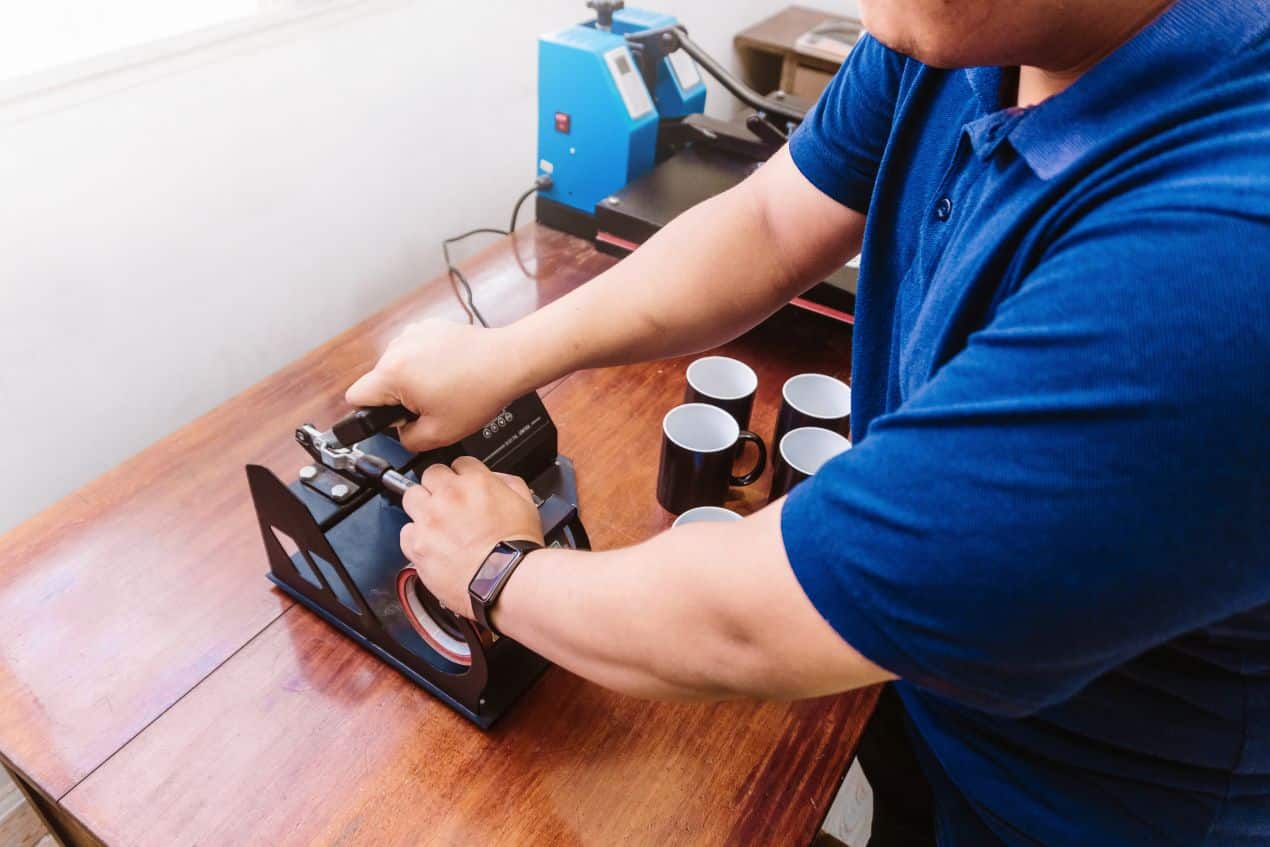
Choosing the Right Mug Heat Press Machine
A mug press machine applies heat and pressure to transfer designs onto mugs. There are single-purpose presses made only for mugs, as well as multifunction heat press machines that include mug attachments. Beginners often start with a basic mug press, while those planning to work with different items may prefer a precise 8 in 1 heat press machine that can handle mugs, shirts, hats, and plates.
Digital mug heat press models allow users to set exact temperature and time, which helps prevent under- or over-pressing. Features like adjustable pressure and interchangeable heating elements make it easier to work with different sizes of mugs or bottles.
The choice depends on whether the user plans to focus only on mugs or expand into other products.
Selecting Suitable Mugs and Drinkware
Not all mugs or drinkware are made for heat pressing. Ceramic mugs coated with a sublimation layer are the most common choice since they hold designs well. Glass mugs, water bottles, and travel mugs can also be used, but they must be labeled as heat-safe and compatible with sublimation or vinyl transfers.
A standard coffee mug size (11 oz or 15 oz) works best with most mug press machines. Larger or irregularly shaped drinkware may require special attachments or presses.
It is important to avoid items not designed for high heat, such as untreated glass or plastic, because they can crack, warp, or melt during pressing. Choosing the correct base material prevents wasted supplies and failed transfers.
Key Supplies for Mug Printing
Along with the press and mugs, several supplies are needed to complete the process. A sublimation printer with sublimation ink prints designs onto sublimation paper. For vinyl transfers, heat transfer vinyl (HTV) and transfer paper are used instead.
Heat resistant tape holds the design in place on the mug so it does not shift under pressure. Heat-resistant gloves protect hands when removing hot mugs from the press.
Design software such as Photoshop, Photopea, or other graphic programs helps create or adjust artwork before printing. These tools allow users to size images correctly for the mug shape and avoid stretching or misalignment.
Having the right combination of supplies ensures clean transfers and reduces common issues like faded prints or peeling vinyl.
How to Use a Heat Press for Mug Printing: Process and Best Practices
Successful mug printing depends on preparing the design correctly, securing the transfer in place, and using the right balance of heat, pressure, and time. Careful handling during transfer and cooling helps prevent smudges, peeling, or cracks in the final product.
Preparing Your Design and Mug
The process begins with creating or selecting a design. For sublimation printing, the design should be printed on sublimation paper using sublimation ink. The image must be mirrored before printing so that it transfers correctly onto the mug surface.
The mug should be smooth, coated for sublimation, and free from dust or oils. Cleaning with rubbing alcohol and a lint-free cloth removes residue that could interfere with the transfer.
When sizing the design, it’s best to leave a small gap near the handle so the print does not overlap unevenly. A simple table can help guide sizing:
| Mug Size | Common Print Area |
| 11 oz | 8.5″ x 3.5″ |
| 15 oz | 9″ x 4″ |
Proper preparation reduces errors and helps the transfer adhere evenly.
Applying the Transfer and Securing the Mug
Once the design is ready, it should be wrapped tightly around the mug with the printed side facing inward. Alignment is important so the image sits straight and centered.
Use heat-resistant tape to secure the paper in place. The tape prevents shifting during pressing, which can cause ghosting or blurred edges. Apply tape along both vertical edges and, if needed, across the top and bottom for extra stability.
The mug should then be placed carefully into the heat press attachment designed for its size. A snug fit helps maintain even contact between the paper and the mug surface during pressing.
Setting Temperature, Pressure, and Time
Heat, pressure, and time must work together for a clean transfer. Most sublimation mugs press well at 350–400°F (177–204°C) with medium pressure for 3–5 minutes, but settings vary by machine and material.
Too much pressure can cause paper lines or ink bleeding. Too little pressure may leave faded spots. Adjust the press so the mug feels firmly held but not overly tight.
Some presses take longer to heat evenly, so preheating the mug for a few seconds before applying full pressure can help. Always refer to the manufacturer’s guide for the most accurate settings.
Transferring and Cooling the Mug
When the timer ends, carefully open the press and use heat-resistant gloves to remove the mug. It will be extremely hot, so place it on a heat-safe surface.
Allow the mug to cool for a minute or two before peeling off the sublimation paper and tape. Removing it too early can smudge the design, while waiting too long may make peeling harder.
Once cooled, the mug should display a smooth, vibrant transfer. At this stage, avoid placing it in a dishwasher or microwave until it has fully set, as sudden temperature changes can damage the print.
Conclusion
Using a heat press for mug printing comes down to a few key steps: preparing the artwork, cleaning the mug, securing the transfer, and applying the right heat, pressure, and time. Each step plays a role in producing a clean and lasting design.
With practice, users can adjust settings to match different mug sizes and materials. Simple habits like checking alignment and monitoring temperature help reduce common mistakes such as fading or uneven prints.
By combining proper setup with regular maintenance, the machine can deliver consistent results. This makes mug printing a practical option for personal home decor projects, gifts, or small-scale production.