A suspended ceiling solves two stubborn problems at once. Noise drops to a gentle hush while service routes stay reachable for quick changes. The plenum space above the grid hides wires plus pipes without heavy work later. Panels improve sound with soft cores that soak up echoes from hard walls. The room feels calmer so speech stays crisp during meetings or study. The build is simple with patient layout plus clean cuts. A measured plan wins because every line supports the next step with ease.
Core Benefits
The panels transform a harsh room into a clear space for speech. The grid creates a service lane that keeps wires reachable without demolition later. Ceiling Panels lift light spread while hiding marks from past repairs. Fire rated options add safety for busy rooms with steady use. Moisture tolerant pieces resist sag in areas with mild humidity. The system adapts to size changes with new tiles set in minutes.
Project Planning
Start with a short guide then follow these points for a smooth setup
- Map room length width height to size the grid while preserving headroom for comfort
- Identify existing wires then mark safe routes so drilling avoids hidden runs with risk
- Choose panel thickness based on noise targets for speech privacy or clear calls
- Verify fire rating for the building type so safety rules fit the planned space
- Sketch fixture layout to align lights with tiles for a clean ceiling pattern
- Confirm access needs above hotspots so tiles lift easily during future service calls
- Stage materials near the entry to reduce dust trips during repeated cutting tasks
- Prepare disposal plans for old tiles so work zones stay free from clutter
Acoustic Science
A quiet ceiling works by absorbing energy that would bounce between flat planes. Porous cores turn tiny air movements into heat so echoes fade away. Thicker pieces reach lower notes while thin pieces favor higher notes from speech. A balanced mix across the room flattens harsh spikes that tire the ear. Placement near talk zones anchors clarity so voices feel close yet soft. The grid adds shadow lines that break strong reflections from lights above.
Material Options
Read the notes then pick components that match the room purpose and care plan
- Mineral fiber tiles deliver strong absorption plus stable edges for long service life
- Fiberglass cores provide high ratings at low weight for easier lifting during service
- Mold tolerant surfaces suit kitchens or baths where humidity rises on busy days
- Washable skins clean quickly which helps spaces with frequent hands or dust build
- Perforated wood looks warm while hides a soft core that does most of the work
- Metal tiles pair with liners to blend style while keeping sound control in place
- Black tiles reduce glare in media rooms so screens show richer tone with ease
- Light reflecting finishes boost lux levels which allows lower lamp power over time
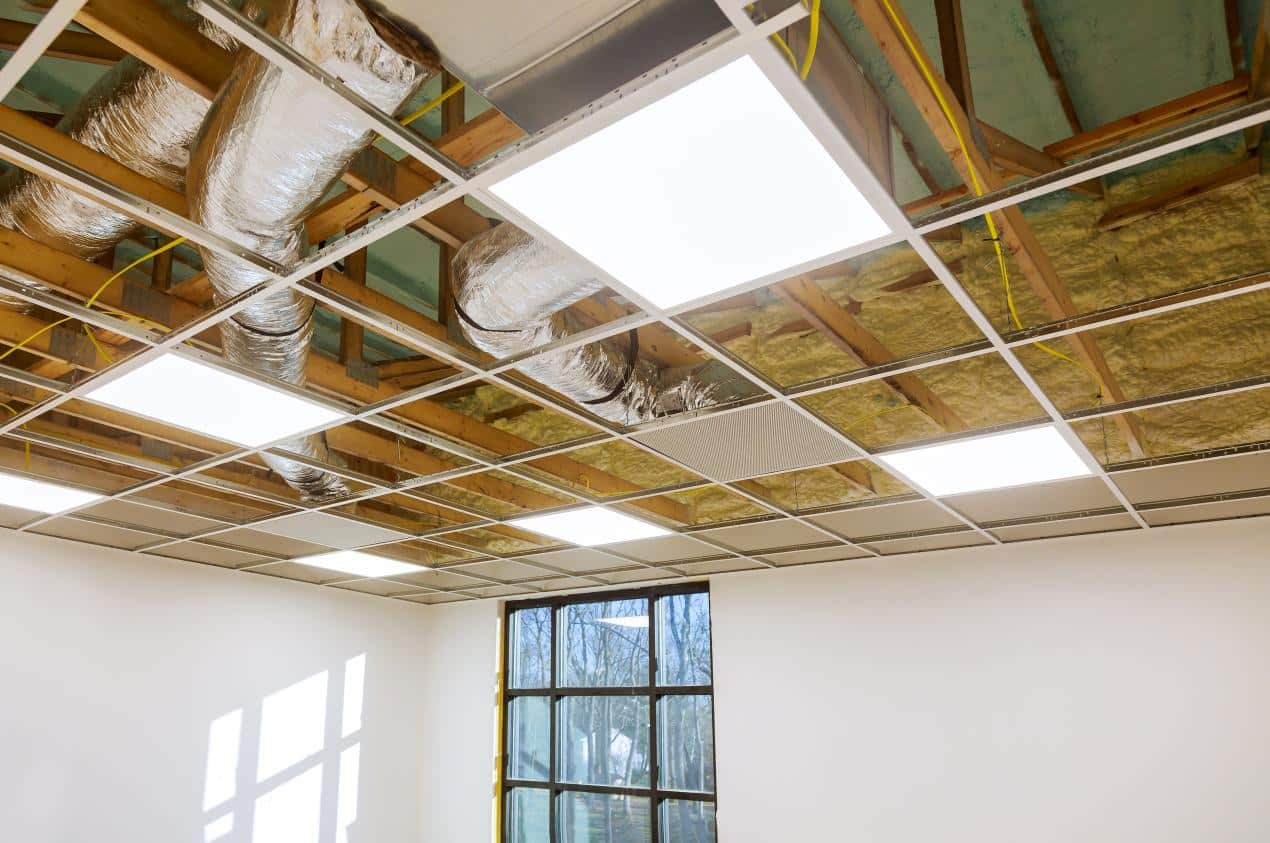
Grid Anatomy
A suspended system hangs from the structure with wires that hold main runners. Cross tees slot into runners to form clean rectangles that support tiles. Wall angles set a true outline that carries loads along the perimeter. Hanger spacing follows product charts so lines stay level from end to end. The plenum above stores wires plus small ducts in neat paths. Access stays simple because any tile can lift for inspection without tools.
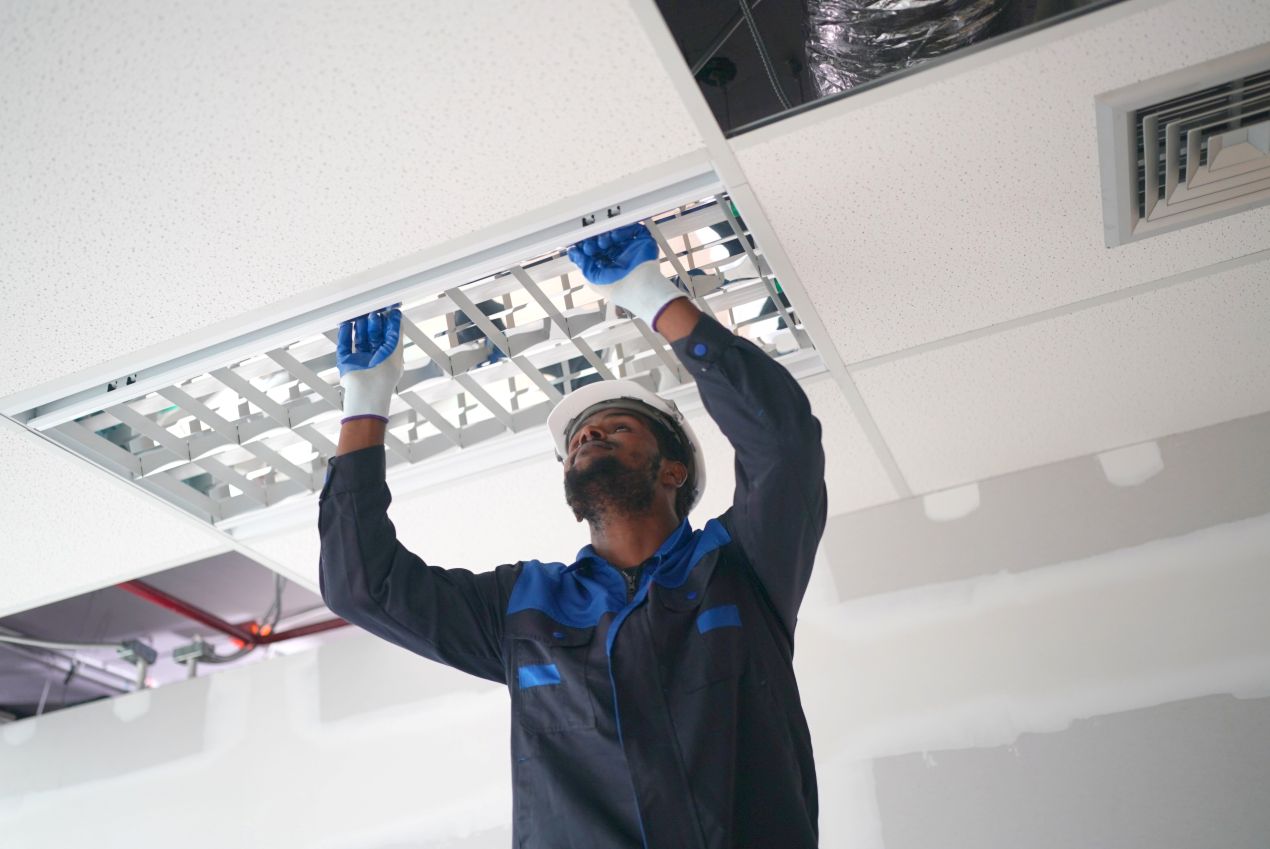
Installation Steps
Lay out center lines on the floor then snap chalk lines on the lid. Fix wall angle at a level mark so tiles rest flush without gaps. Hang wires with anchors that match structure type then trim to height with cutters. Clip main runners into place while checking level at each span. Add cross tees on the marks that match chosen tile size. Cut border tiles with a sharp knife for clean edges that seal light. Place tiles gently so corners do not crush during seating. Step back for a full view then tweak lines before loading heavy fixtures.
Maintenance Tips
Read the brief then apply these habits to keep results strong with minimal cost
- Dust tiles monthly using a soft mop so pores remain open for steady absorption
- Replace stained tiles early to keep the field clean while preventing odor growth
- Lift tiles with clean hands to avoid marks that spoil the overall finish
- Log service visits for wiring changes so future crews find paths quickly without cuts
- Tighten loose wires that carry runners to stop sag from forming across spans
- Check sprinkler clearances after moves to maintain safe spray patterns if present
- Test light levels each season then adjust lamp output for comfort plus savings
- Store spare tiles flat so edges do not warp before the next replacement task
Wire Routing
A suspended lid protects cables while preserving access for upgrades during busy schedules. Use cable trays above the grid so pathways stay tidy across long runs. Label both ends before you close a span so future work moves faster. Keep power lines apart from data lines to reduce signal noise during calls. Support heavy bundles at regular points so tiles never carry load. Write a brief map that lives inside the panel near the door for quick checks.
Quiet Access
Suspended systems solve noise while keeping service paths open for years with little fuss. Panels set the tone for speech while the grid turns upgrades into quick tasks. Care stays light with dusting plus rare swaps for stains. Choose parts that match humidity plus fire rules for steady safety. Keep a small store of spares near the site so color remains consistent. Your room can stay calm while wires stay reachable for every new need. For research or shopping lists write Ceiling panels at the top so results stay focused during planning.