

Key Takeaways
- Address immediate safety concerns before attempting cleanup or repairs.
- Photos, notes, receipts, and inspection records create a clearer repair trail.
- A careful inspection can help distinguish a localized repair from a broader restoration or replacement project.
- Insurance requirements, permits, and local building rules can affect the scope and timing of work.
- Storm repairs are an opportunity to correct drainage, sealing, and attachment issues that could contribute to future damage.
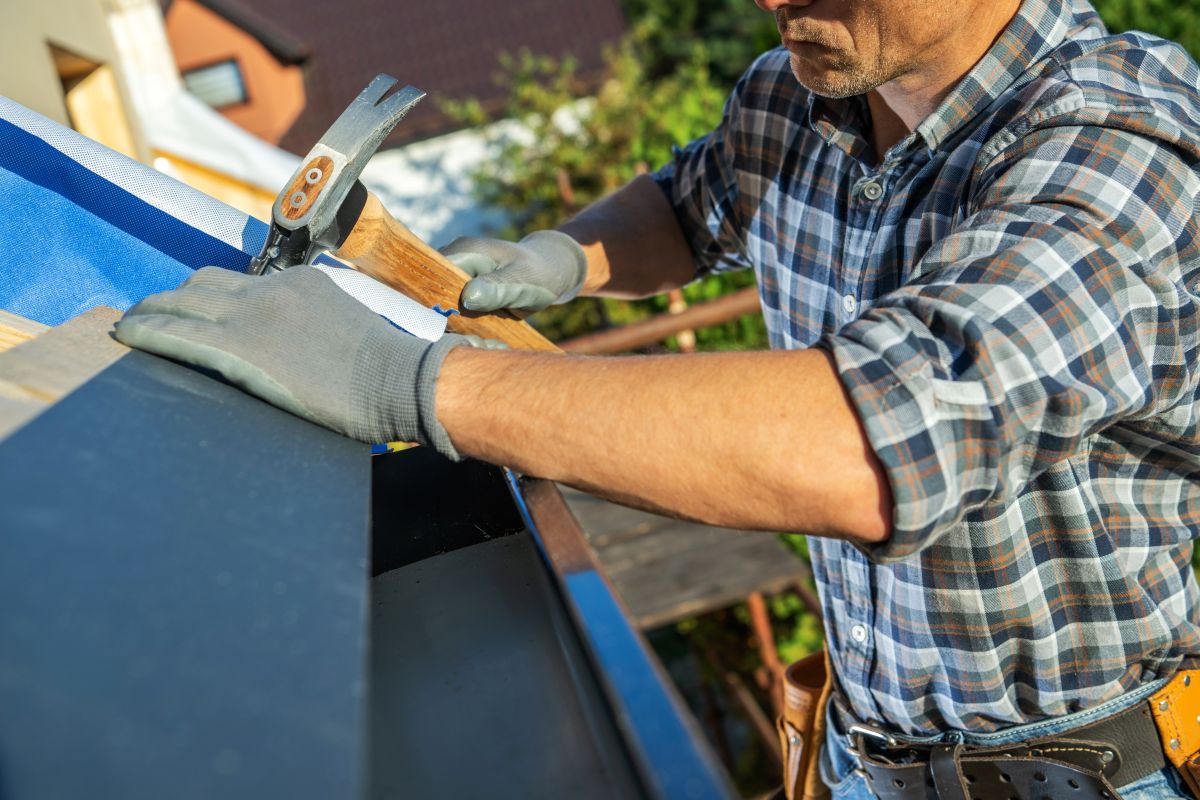
Severe weather can leave behind obvious problems, such as missing shingles, fallen gutters, cracked siding, or broken windows. It can also create less visible issues, including water intrusion behind exterior finishes and damage around flashing or trim. Whether the next step involves a small repair or residential roof installation, a measured plan helps homeowners protect the property without overlooking important details. The goal is not to assume that every storm requires a full exterior replacement. Instead, start by making the property safe, documenting conditions, and identifying the source and extent of the damage. A repair that addresses the underlying problem is more likely to hold up than a cosmetic patch applied before the home has been properly assessed.
Why Exterior Repairs Need a Clear Plan
Wind, rain, hail, and falling debris can affect several parts of a home at once. A loose shingle may allow water into the roof system. A bent gutter may send runoff toward the foundation. A small opening around the trim can expose wall materials to moisture. Because exterior components work together, it is wise to review the entire building envelope instead of focusing only on the most visible problem. Begin with a ground-level review of roof surfaces and flashing, gutters and drainage paths, siding and trim, windows and doors, and attached features such as porches, decks, or awnings. Rushed work can lead to repeated repairs, missed moisture problems, or changes that do not meet local requirements.
Step One: Check for Immediate Safety Risks
Do not enter or work around an area that appears unstable. Stay clear of sagging roof sections, leaning walls, broken glass, loose overhead materials, standing water near electrical equipment, exposed wiring, and suspected gas leaks. Keep children and pets away from damaged areas. Call emergency services or the appropriate utility provider when there is an immediate threat to people or property. For elevated or hard-to-reach damage, use a qualified professional rather than climbing onto a wet roof or using a ladder near unstable materials.
Step Two: Document Damage Before Cleanup
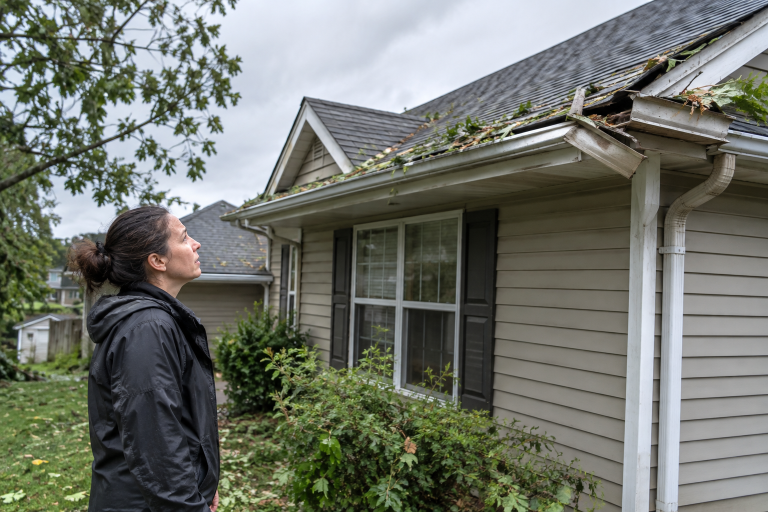
When it is safe to do so, create a thorough record before removing damaged materials. Take wide photos of each side of the house, then take close images of missing materials, cracks, dents, stains, water entry points, and debris. Write down the storm date, the date damage was discovered, and any temporary action taken. Keep receipts for emergency coverings, cleanup, inspections, and temporary repairs. A simple room-by-room and exterior checklist can help ensure that less obvious issues, such as ceiling stains or water around window frames, are not forgotten. Unless a damaged item creates a safety hazard, photograph it before disposal.
Step Three: Separate Emergency Work From Permanent Repairs
Temporary protection
Emergency work is intended to reduce immediate risk. It may include covering an opening, removing hazardous debris, redirecting water away from the home, or stopping active water entry. Record this work with photos and receipts, since temporary measures are not the same as a complete repair.
Finished repairs
Permanent work should correct the cause of the damage, replace compromised materials, and meet applicable code requirements. For example, replacing damaged trim without addressing the failed flashing or drainage issue behind it may leave the home vulnerable to another leak.
Step Four: Decide Whether to Repair, Restore, or Replace
The right option depends on the material’s condition, age, location, and the reason for its failure. Repair is often appropriate for isolated damage when the surrounding material remains sound. Restoration may make sense when several connected components need attention, but the underlying structure is stable. Replacement may be more practical when damage is widespread, materials are near the end of their service life, or repeated repairs have not resolved the issue. During an inspection, ask what caused the damage, whether it extends beyond the visible area, what may happen if repairs are delayed, and what maintenance will be needed afterward. Clear answers help homeowners compare recommendations based on scope and long-term value, not appearance alone.
Step Five: Review Insurance, Permits, and Local Rules
Review your insurance policy and contact the insurer when appropriate before authorizing major work. Coverage can depend on the cause of loss, deductible, exclusions, and the property’s prior condition. Keep communication and claim documents, along with the photos and receipts collected after the storm, organized. Permit rules vary by location and type of repair. Local governments may allow limited cleanup after a storm while still requiring permits for work that normally needs approval. For example, storm recovery permitting guidance explains that storm events do not automatically remove permit requirements for repairs that would otherwise require them. Your local building department is the final authority for work at your home.
Step Six: Compare Repair Estimates Carefully
- Request a written scope of work that identifies the damaged areas and proposed repairs.
- Confirm whether labor, materials, disposal, cleanup, permits, and inspections are included.
- Ask which tasks need immediate attention and which can be scheduled later.
- Compare warranties, material specifications, and preparation steps, not just the final price.
- Clarify who is responsible for permit closeout and required inspections.
Estimates can differ because one scope may include additional preparation, investigation of hidden damage, material upgrades, or related repairs. A lower figure may not reflect the same work. Compare each line item against the property’s actual condition and ask for clarification before signing an agreement.
Step Seven: Use Repairs to Improve Storm Resistance
Repairs can provide a practical opportunity to improve the exterior where conditions allow. Consider materials suited to the local climate, secure loose trim and siding, seal gaps around windows, doors, vents, and utility penetrations, and make sure gutters and downspouts direct water away from the foundation. Installation quality, routine maintenance, drainage, and local exposure all matter alongside the material itself. Homeowners rebuilding after a declared disaster can also review ways to reduce future disaster damage through mitigation planning and building practices. These resources can help frame questions about stronger details and safer rebuilding choices, but local code officials should confirm which methods apply to a specific property.
Common Mistakes to Avoid
- Beginning major work before documenting the damage.
- Choosing a contractor based only on a verbal estimate or the lowest price.
- Repairing visible finishes before investigating moisture, drainage, or structural concerns.
- Assuming storm-related damage is automatically covered by insurance.
- Skipping permit research because the work appears minor.
- Waiting too long to address small leaks, blocked gutters, or loose exterior materials.
A Simple Home Exterior Repair Checklist
- Make the property safe.
- Photograph and describe the damage.
- Arrange a safe inspection.
- Contact the insurer when appropriate.
- Check local permit requirements.
- Separate temporary protection from permanent repairs.
- Compare written estimates.
- Select materials and methods appropriate for local weather conditions.
- Schedule follow-up maintenance.
- Store records in both digital and physical folders.
Conclusion
Storm damage can be stressful, but a clear process makes decisions more manageable. Put safety first, document conditions early, and have the property inspected to identify the extent and cause of the damage. When repairs are needed, focus on solutions that address the underlying problem rather than simply covering visible symptoms. Homeowners should also review insurance requirements, local permits, materials, and contractor qualifications before work begins. The strongest repair plan is one that fits the home’s condition and budget, follows local requirements, and considers the property’s long-term needs. Taking these steps can make the repair process more organized and help reduce the likelihood of repeated damage in the future.