Moisture mapping is a good first step before tearing down a building, as water damage often spreads beyond visible areas. Water can go through framing, hide behind tile, soak subfloors, and support slow-moving rot that only shows up when walls are opened. Without a moisture map, demolition crews might tear down the wrong parts first, miss wet spots, or block off wet spots behind new buildings. This makes the floors smell bad and sag, and the paint peels off quickly after the remodel is done. A moisture map combines information to show where water has been, where it is now, and how far it has likely traveled. The goal is to identify areas where water has damaged property, trace the source back to its origin, and remove it in a way that protects nearby regions and keeps the rebuild clean. Organizing the mapping process makes it easier and cheaper to figure out what to cut, what to dry, and what to replace.
Map First, Demo Second
1. Why Hidden Rot Hides So Well
Rot often forms in places that do not show immediate surface symptoms. Wood can hold moisture at the core while the surface feels dry, and building assemblies can trap water between layers, such as tile backer and studs, drywall and insulation, or subfloor and underlayment. Bathrooms and kitchens are common problem areas because repeated humidity cycles allow slow absorption, and small plumbing leaks can run for months before anyone notices. Roof and window leaks create similar patterns, especially when water follows nails, flashing seams, or gravity-driven paths along framing. Rot needs time, warmth, and moisture, so it tends to appear where airflow is low and materials stay damp, such as behind vanities, under tubs, near shower curbs, and at exterior walls. During remodeling, homeowners who focus on finishes may shop for Modern Master Bathroom Ideas while the real risk sits behind the wall in a damp corner where caulk failed long ago. Moisture mapping helps separate cosmetic planning from structural reality. It also reduces the risk of surprise change orders by revealing whether a stain is old and dry or active and spreading. By understanding how water migrates, crews can avoid partial removals that leave a wet pocket sealed in place.
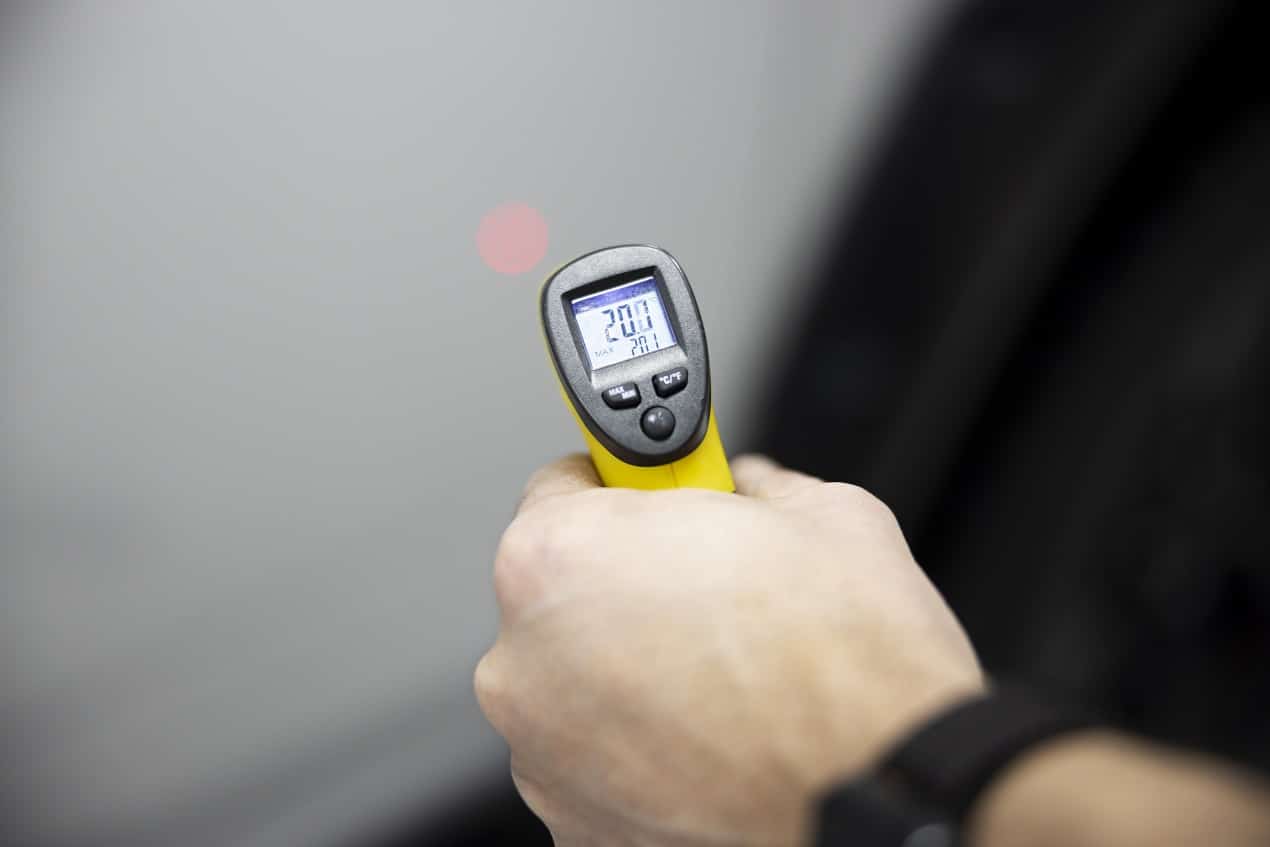
2. Tools and Techniques for Moisture Mapping
Moisture mapping combines non-invasive scanning and targeted verification. A pinless moisture meter scans surfaces and compares readings across a region, allowing you to identify relative moisture levels without damaging surfaces. A pin-style meter verifies moisture levels by testing wood or drywall, which is helpful when you need to determine whether moisture levels exceed safe thresholds in framing. Infrared imaging can detect temperature variations associated with evaporation, but it is most effective when there is a temperature or humidity contrast that highlights areas of moisture. Visual observation is still valid. Check for swelling around baseboards, soft spots in flooring, discoloration around fasteners, blistered paint, or grout discoloration around corners. Another indicator is odor, which can be musty in damp areas even when surfaces appear clean. To create a detailed map, the area can be divided into regions, and the data recorded on a drawing, taking into account wall height, distance from fixtures, and the direction of water flow. Pictures taken at intervals can record changes over a few days if drying is in progress. The idea is not to focus on a point but on a sequence that indicates the interface between dry and wet areas.
3. Planning the Map Around Likely Water Sources
A good map starts at the source and spreads out from there. In bathrooms, begin with the supply valves, shut-offs, and fixture connections. Then look at the wall side of the tub or shower valve, the shower curb, and the floor around the toilet flange. Next, go to places where water usually gets in, like the edges of a tile pan, the grout lines at corners, and where the tub meets the wall. In the kitchen, pay special attention to the sink bases, dishwasher connections, refrigerator supply lines, and any plumbing that goes through the floor. Add windows, sill plates, and lower corners to the exterior walls to allow water to collect. If there is a stain on the ceiling below a bathroom, make a map of both the ceiling and the floor above. This is because water can travel along joists, making it appear to come from far away. Start with the rim joists and sill plates in crawl spaces and basements, where water or condensation may accumulate. The map can be used to solve problems rather than just measure moisture by following likely water routes. This will also help you distinguish between a one-time issue, such as a leak, and a recurring problem, such as poor ventilation or a lack of waterproofing.
4. Interpreting Results to Find Rot Risk
Moisture values must be considered in context, as different materials and temperatures can affect results. Compare values to a dry standard in the same area, such as an interior wall not served by plumbing. A higher value near a wet area indicates a moisture gradient, which may indicate travel direction. A steady wet value at the bottom of the walls may indicate capillary action from a floor leak or a failed shower pan. Higher values in the middle of walls may indicate a pipe leak or valve problem. In wood-framed buildings, high moisture content over time raises the risk of fungal growth and rot, particularly where insulation retards drying. Softness, disintegration, or discoloration of the wood surface may indicate rot, but rot may also exist under paint or in the core. When high levels are indicated, but the area appears sound, consider a small inspection opening in a low-impact area to verify conditions before complete demolition. This focused strategy prevents unnecessary demolition of large areas. It may also help assess safety issues, such as a deteriorated subfloor under a toilet or rotten studs behind a shower valve wall.
Final Walkthrough
Moisture mapping before tearing down a building shows where the water has gone and where rot is likely to hide, helping avoid surprises. It uses scanning tools, targeted verification, and source-based logic to identify wet areas and remove them in a controlled manner. You can tell if the damage is still happening, has happened again, or has already happened and dried up by starting at places where leaks are likely to occur and looking at moisture patterns. The map then tells the workers how far to proceed with the demolition, how to contain the mess, and how to dry wet materials so the clean areas stay clean. After opening the cavities, follow-up readings ensure the area is ready for reconstruction and prevent moisture from becoming trapped behind the new surfaces. Adding moisture mapping to the remodeling process as a regular part of it helps make better decisions, reduces change orders, and lowers the risk of smells or rot returning after the work is done.