If you love the thrill of a thrift-store find but not the mystery grime that comes with it, this project is for you. In one weekend, you can turn a tired wood side table into a clean, bright, protected piece that can survive coffee rings, sticky fingers, and everyday use.
This is a beginner-friendly DIY with a high “wow” payoff and the final step is sealing and protecting the surface using clean armor products so your work lasts.
What You’ll Need
Furniture + Prep
- A small wood side table (solid wood is easiest, veneer is okay if you’re gentle)
- Microfiber cloths
- Bucket of warm water
- Mild dish soap (optional)
- Sandpaper (120 + 220 grit) or a sanding sponge
- Tack cloth (or a slightly damp microfiber cloth)
Finish
- Primer (only if you’re painting or dealing with stains/knots)
- Paint or wood stain (your choice)
- Foam roller or quality brush
Protection (the “armor” step)
- Clean Armor surface protection products (choose based on your finish and how the piece will be used)
Step 1: Start With a Deep Clean (Don’t Skip This)
Thrifted furniture usually has invisible buildup—polish residue, hand oils, old cleaning sprays, and dust embedded in corners. If you sand or paint over that, you risk adhesion issues later.
- Wipe the entire table down with warm water and a microfiber cloth.
- For extra grimy pieces, add a tiny amount of mild dish soap.
- Let it dry completely before sanding.
Pro tip: Pay attention to edges and carved details—those areas often hold the most residue.
Step 2: Sand for a Smooth, “New Furniture” Feel
Sanding is what makes the end result feel professionally finished.
- Start with 120 grit to scuff the existing finish.
- Follow with 220 grit to smooth it out.
- Wipe away dust with a tack cloth (or damp microfiber, then dry).
If your piece is veneer: use light pressure and avoid lingering on edges.
Step 3: Choose Your Look—Painted or Natural Wood
Option A: Painted (modern and forgiving)
- Apply primer if the wood has heavy staining or knots.
- Paint in thin coats (2–3 usually looks best).
- Lightly sand between coats with 220 grit if you want an ultra-smooth finish.
Option B: Stained (warm and timeless)
- Apply stain with a cloth, then wipe off excess.
- Let it dry fully according to the product instructions.
- Consider a second coat for deeper color.
Step 4: The Secret Sauce—Protect It With “Clean Armor”
Most DIY furniture projects look great on Day 1… and can start looking rough by Day 30 if they aren’t protected properly.
A good protective layer helps guard against:
- Water marks and rings
- Smudges and everyday grime
- Minor scratches and scuffs
- Stains from food, drinks, or household messes
That’s why finishing with Clean Armor is the smart final step—especially if the table will be used as a nightstand, entryway drop-zone, or living room side table.
You can browse Clean Armor protection options here.
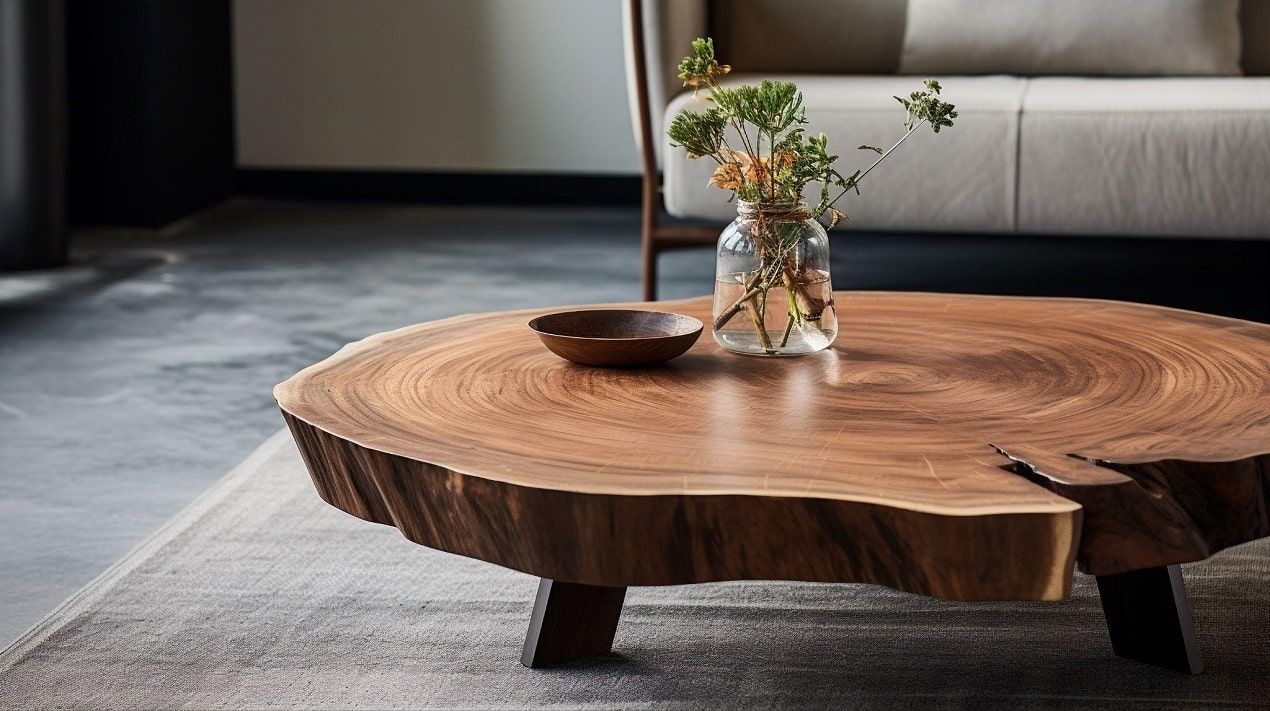
Step 5: Reassemble + Style It Like a Designer
Once your finish and protective layer have fully cured:
- Add new hardware (optional but high-impact)
- Style with a small lamp, a plant, and a tray for keys or coasters
- Use felt pads under décor to keep the surface pristine
Quick Care Tips to Keep It Looking New
- Use coasters for the first couple weeks as everything fully cures
- Wipe spills quickly (even on protected surfaces)
- Dust with a microfiber cloth instead of harsh sprays
Final Thoughts
This project is proof that you don’t need expensive furniture to get a polished, home-worthy look. With a little prep, a fresh finish, and a protective “armor” step using Clean Armor, your thrifted table can become a durable statement piece that holds up to real life.